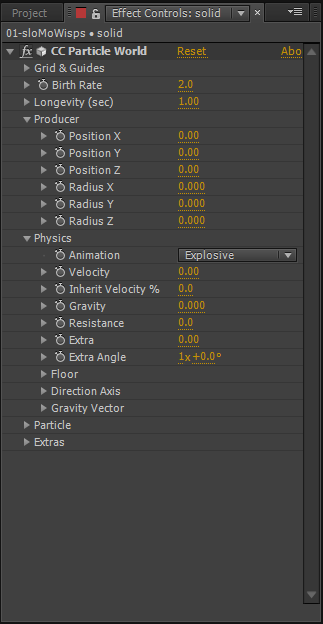
 After my research with wisps and good idea already in my head of how I want them to look. I'm now going to go in to After Effects and attempt to create one. This may not be the finished product but it will probably be pretty close to what I will use in the end, I decided to use the "CC Particle World" simulator. Which emitted particles a simply, next I needed to put make them 3D and have the ability to move in around x, y and z. To do this I had to use a few expressions that link them all up.

At this point I had a fully animating particle emitter that I could move around in full 3D space. To test this I quickly added in the expressions "wiggle(.5,100)" which aloud to the null object (that my particle is connected to) to move randomly when scurbbing my timeline.
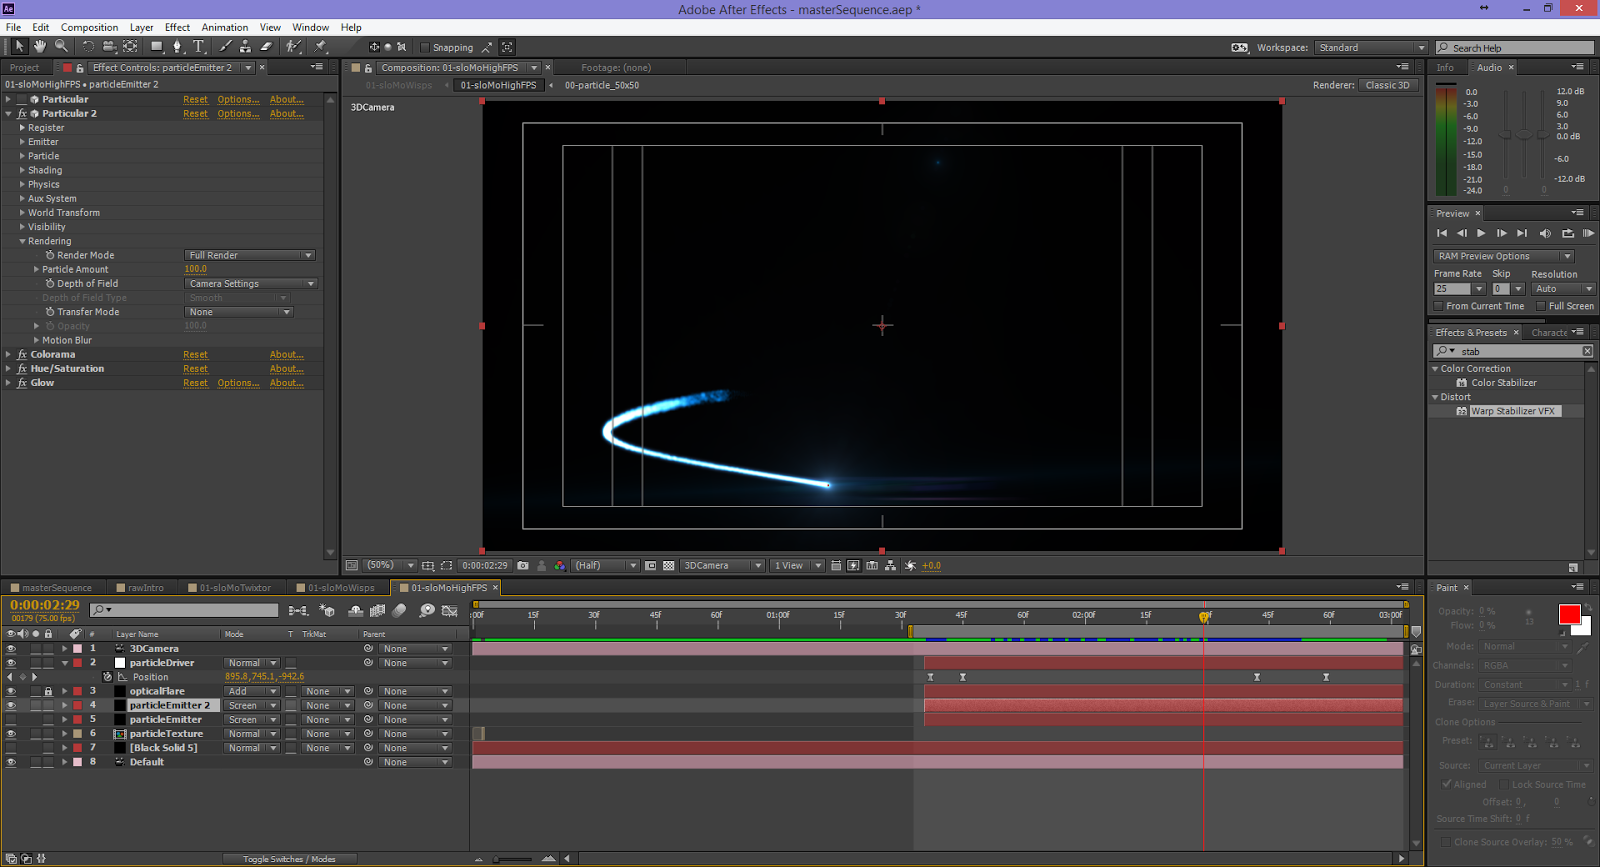
So now I had a particle that was leaving a trail, I needed to give it some colour and some glow. Using the effects 'Hue/Saturation' & 'Glow' on an adjustment layer, I created that something start to loosely resemble my image. I went back to the particle emitter and played around with a few more settings till my particle was a little more streamline than before.
I then started to realise that the faster my particles went, the more of them I needed to product but then the sections where the particle trail overlapped glowed to intensely for my liking. I decided I needed a plugin a little more reliable and since I have the full Red Giant Suit I was able to take advantage of the Trapcode Particular.
This was good but still not quite what I wanted. I went back to particular, as you can see from the first image alot of the extra facts give the trail it's thickness. Each image below goes through the options I attached to the effects: Particular 2, Colorama, Hue/Saturation, Glow, CC Vector Blur, Fast Blur and Optical Flare. I'm sure there were other ways I could of achieved this effect but this is how I came up with it.
I then gave my wisp a different path, which I have been implementing into my intro sequence. I only made the layers of the wisp visible and rendered them out so I could see what it would look like. The only next option I guess would be to have it with some other footage to see how the light reacts against it. You can see my final rendered below.


No comments:
Post a Comment