Since I'm working in RAW I wanted to be able to get the most out of my RAW DNG footage. Davinci has a great system ready to take the intensity, before there was a lite version only companies with good budgets could afford it. Now your average Joe can take a look and make some great content. I already have the idea in my head of how I wanted to colour this work.
[NOTE - Unfortunately Google has decided to auto enhance my images since it thought they were a little dark, and so the colouring doesn't looking totally right on these images, but rest assured they are great.]
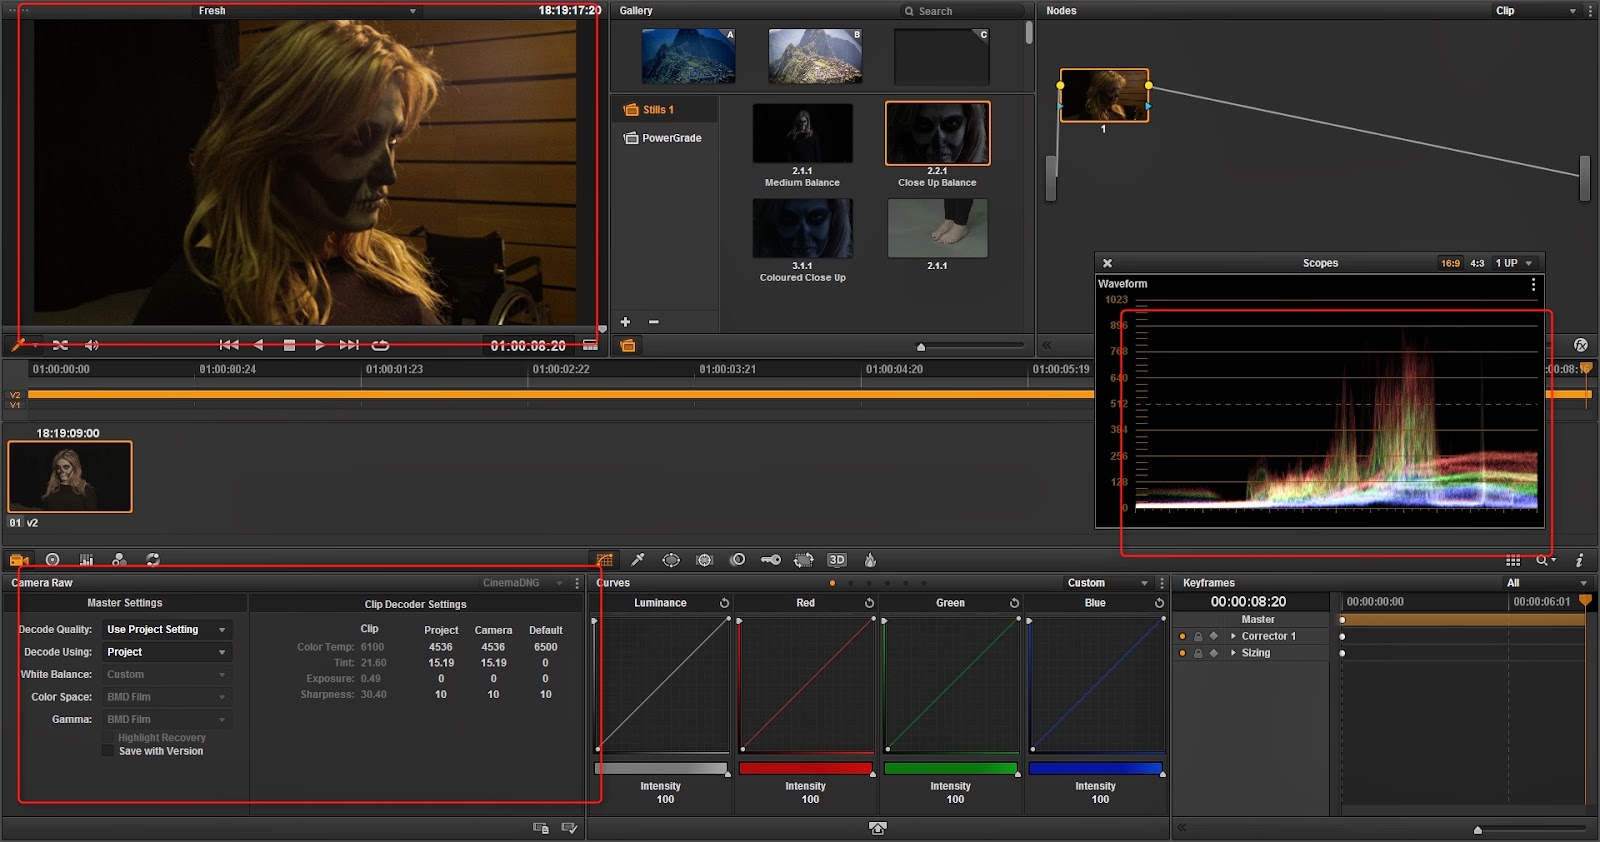 |
| So first off I took my footage into Davinci timeline and went to the colouring (If you want to see how I did that then you can check my previous post about it). As you can see the footage is extremely yellow and you might first think that's a problem but since the footage was shot in RAW I have the ability to edit the temperature with no quality loss. |
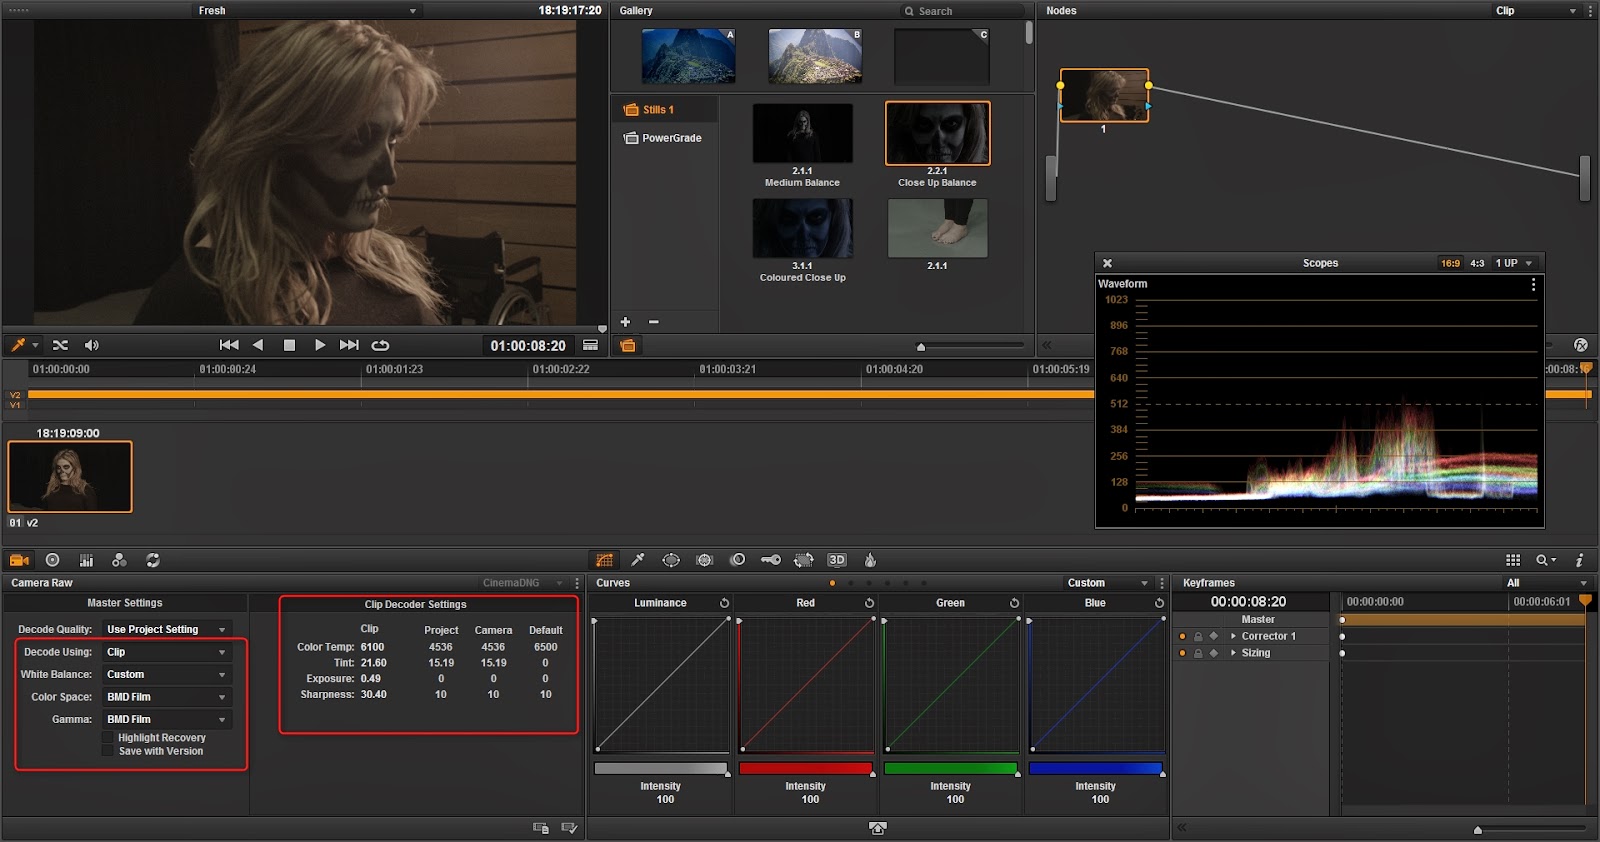 |
| If I change the "Decode Using" to clip it will recognise the Black Magic camera and enable the RAW input. Now I can edit the Clip Decoder Settings that were not usable earlier. |
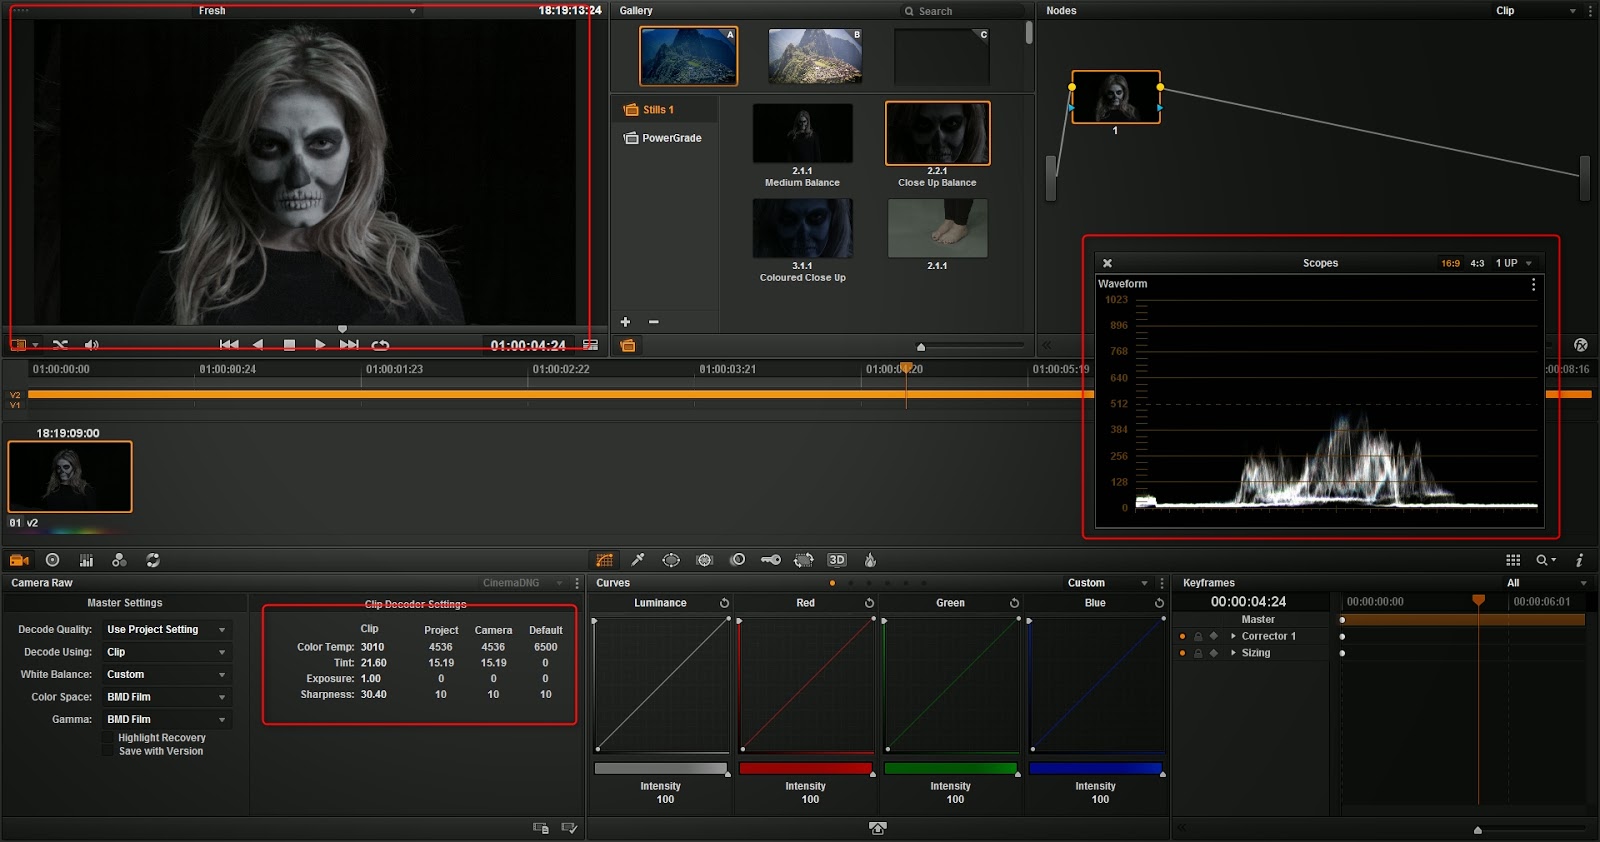 |
| Using these I can change my temp, ting, exposure and sharpness. So with a few tweaks I will able to balance out my image. What I was looking for was an almost white scope that you can see on the right. If you compare it to the image above you will see. |
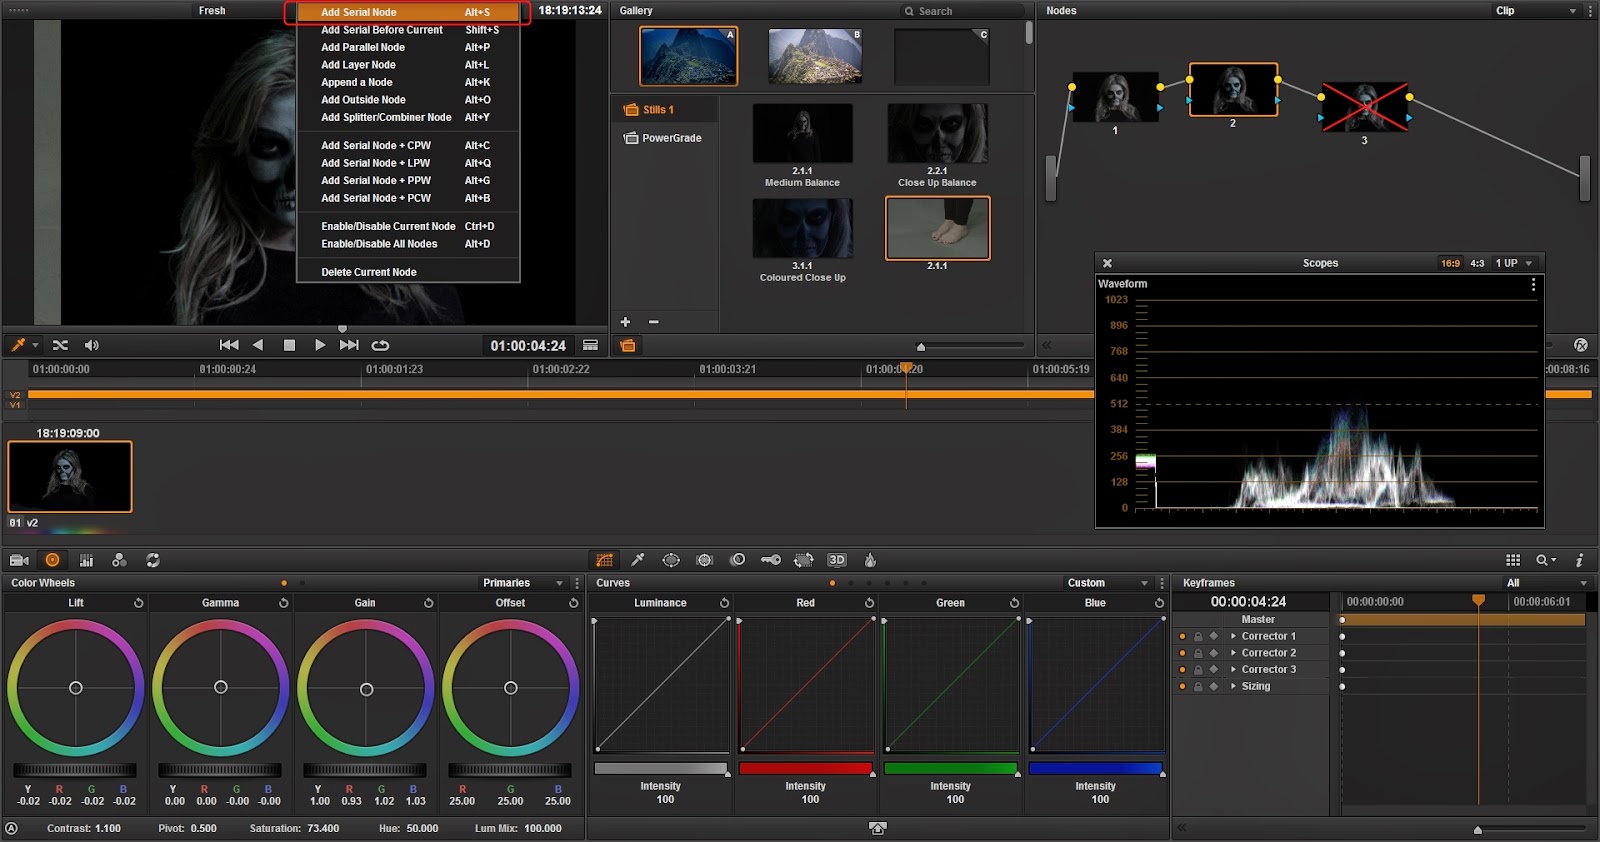 |
| Davinci has a great in built functionality called 'nodes' which represents non-destructive workflow. If I am mindful and add each step as a node then I will have full control over my image. Now I'm going to up my Saturation a little bit to bring in her colour, while shifting the exposure down a little my highlights are too much. |
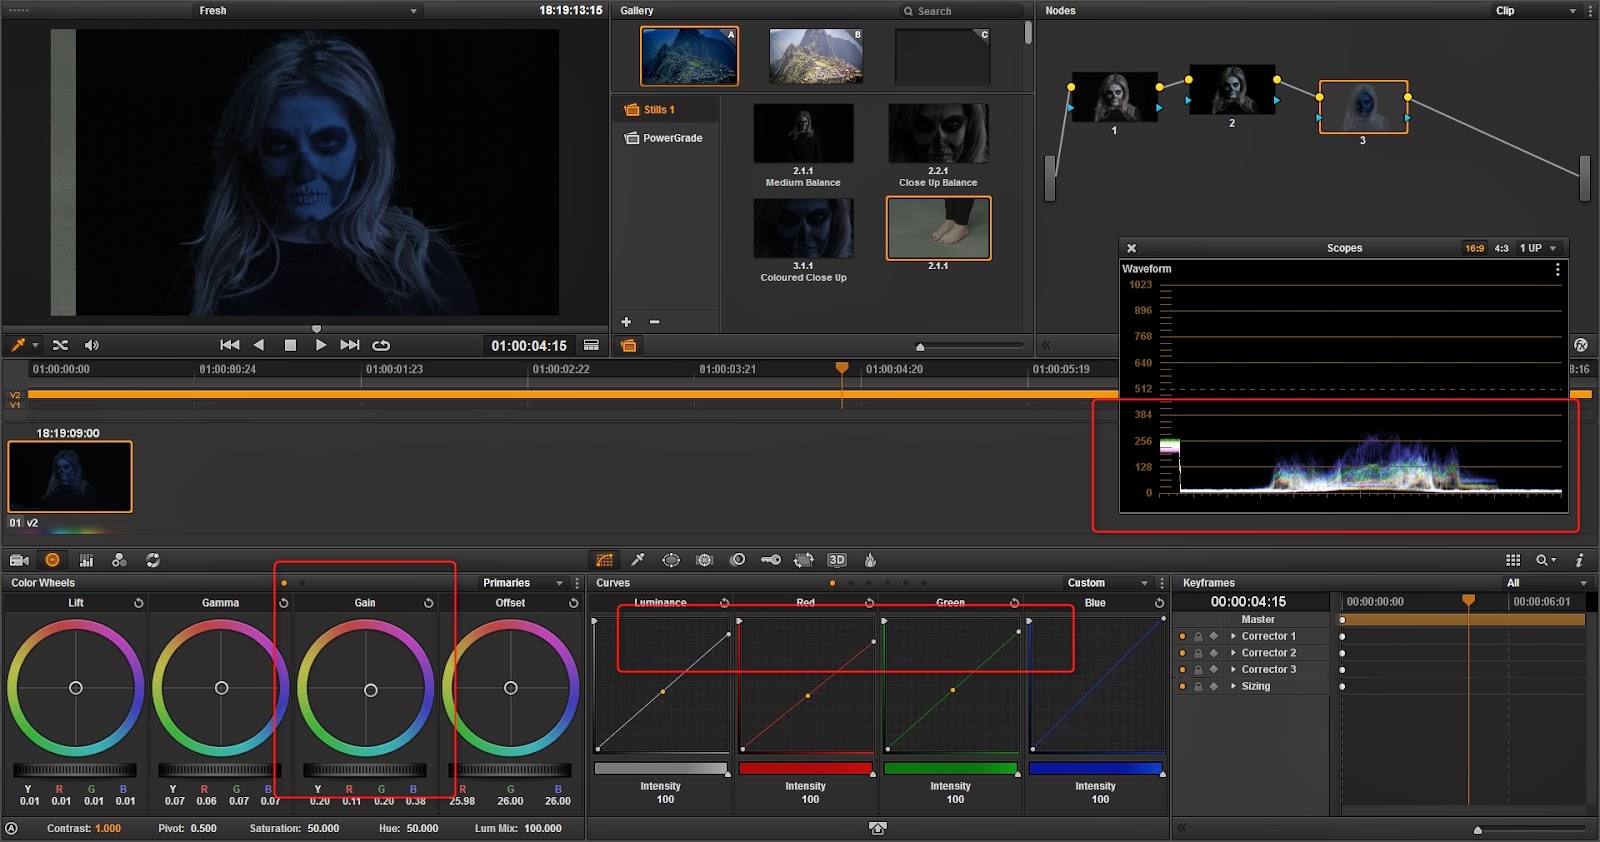 |
| I'll add my next node again, and this time I want to really wash the the whole shot blue because it's meant to be in darkness but the illusion is it's still light but the blue automatically makes you think of it being dark. Lift, Gamma and Gain represent shadows, mid-tones and highlights. I'm slowly going to shift away from the warmer region until I get a nice blue colour. As I did this I noticed the hair was becoming too blue, so to rectify this I decided to add a mask to only the face. |
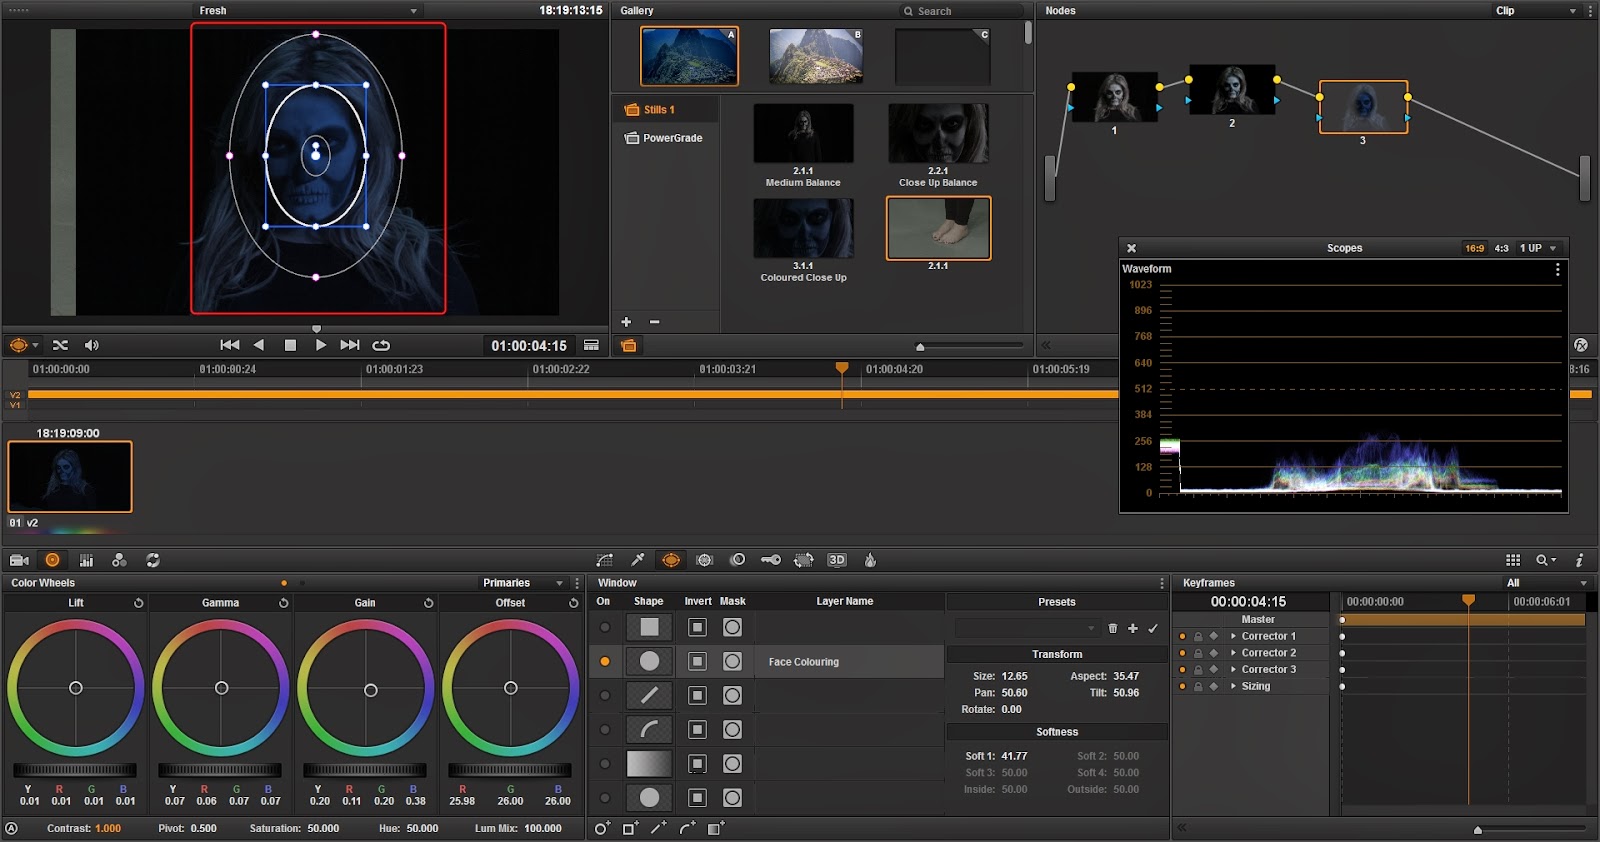 |
| Going to the third tab in the middle bottom window, I get the masking options. I have never seen a tracking pretty much as good as this it's great, I drew a quick eclipse over her face and I could see it's effect by looking at the top right in my node box. |
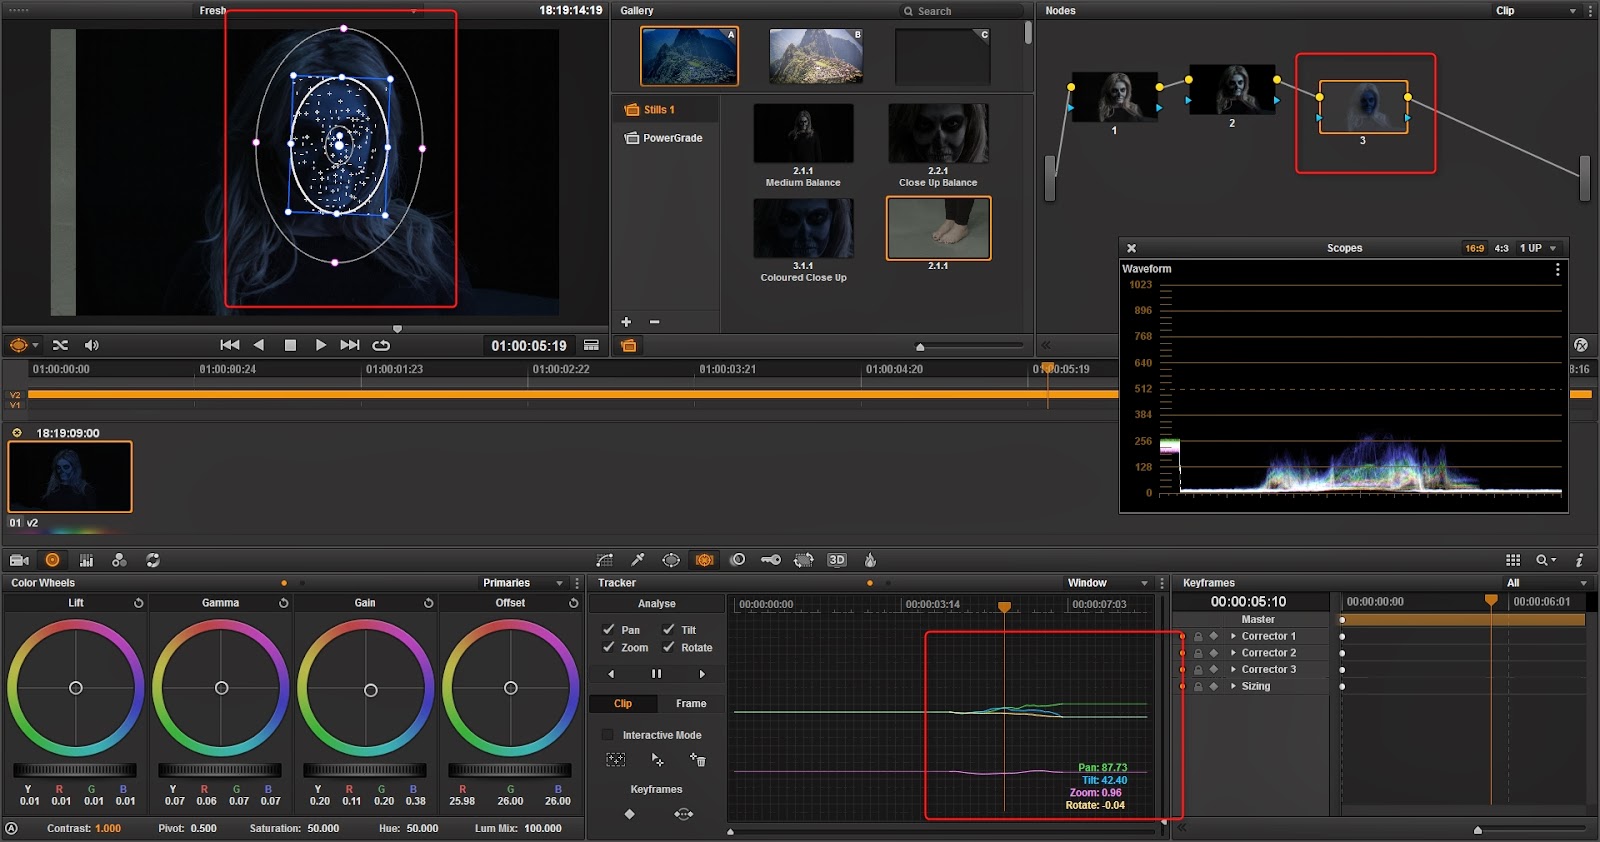 |
| In this shot there is a full 180 degree pan of my subject and the mask obviously doesn't following her. So going to the next tab across I can use the analyse options to track the footage of which it did an incredible job. This blow adobe after effects out of the water. |
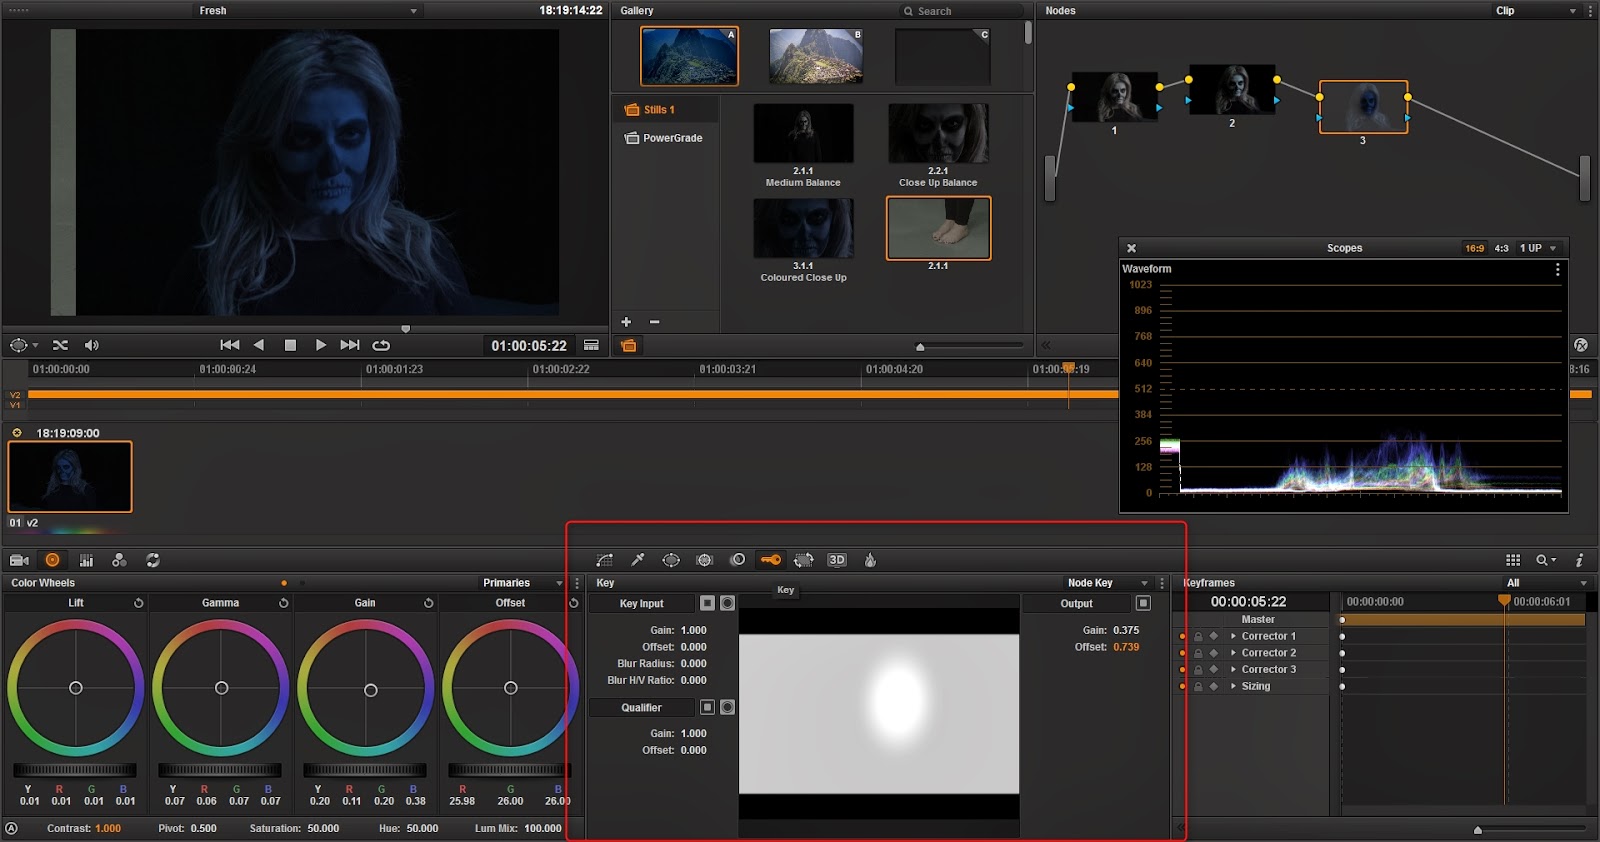 |
| Now instead of trying to mess with my settings, I can use the Gain and Offset options to blend the effected and unaffected area together. This is pretty the point where I'm happy, as I mentioned Google has tried to balance the images and made it look totally wrong. There was some balance between each image but almost perfect across. |
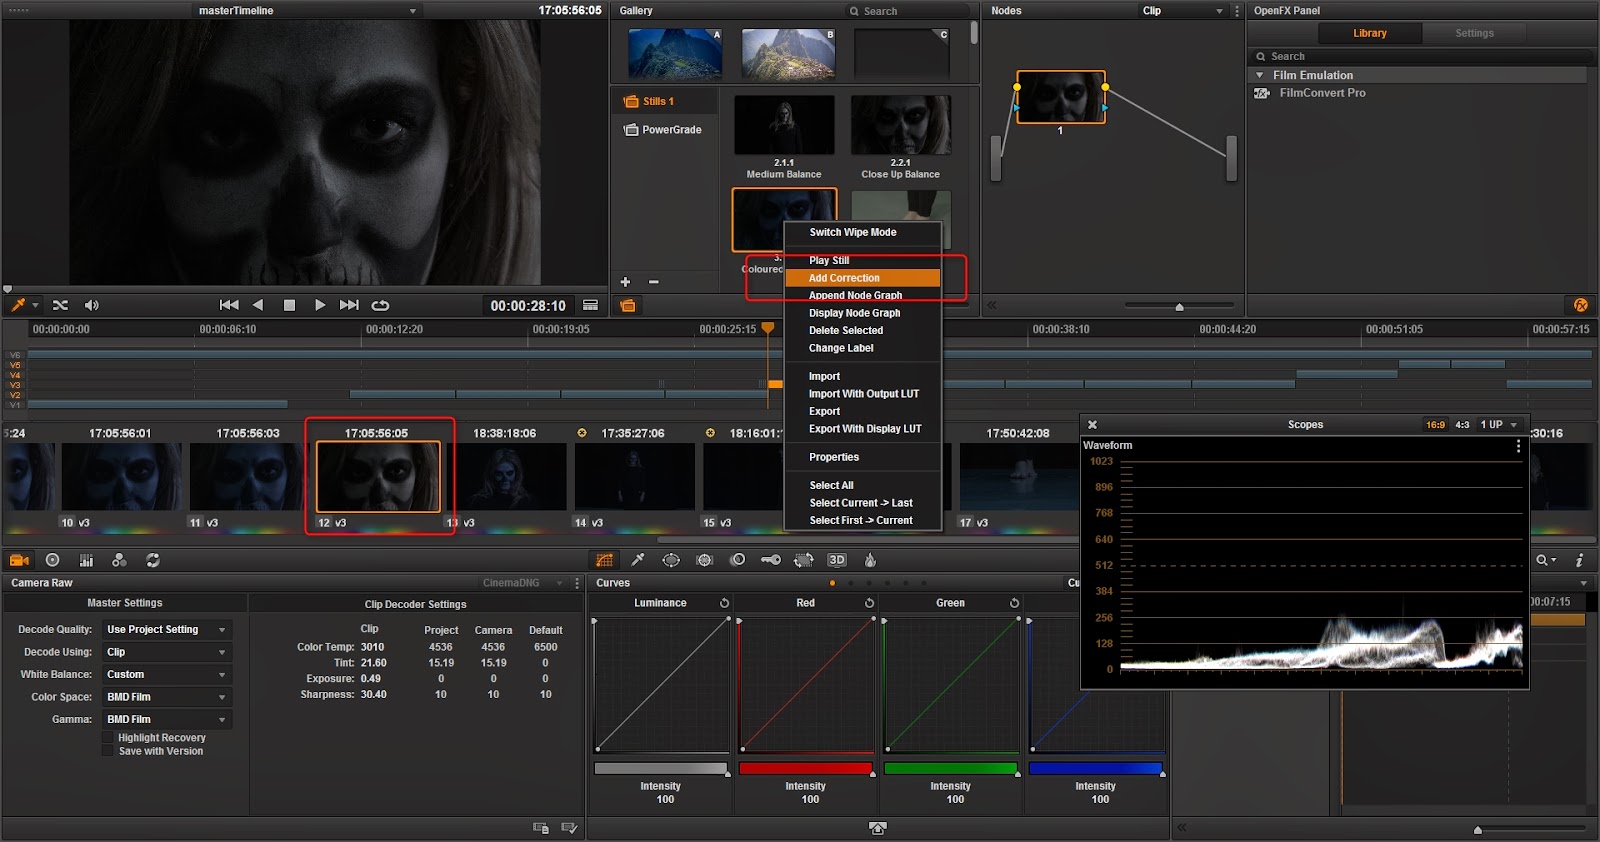 |
| So I took my rough cut and went through grading the rest of my images. What's great is I can take a 'snapshot' of all the settings on a node and have it use on any other image. In this close up shot I can click "Add Correction" and instantly have all the settings go across. This makes my process so much quicker. |
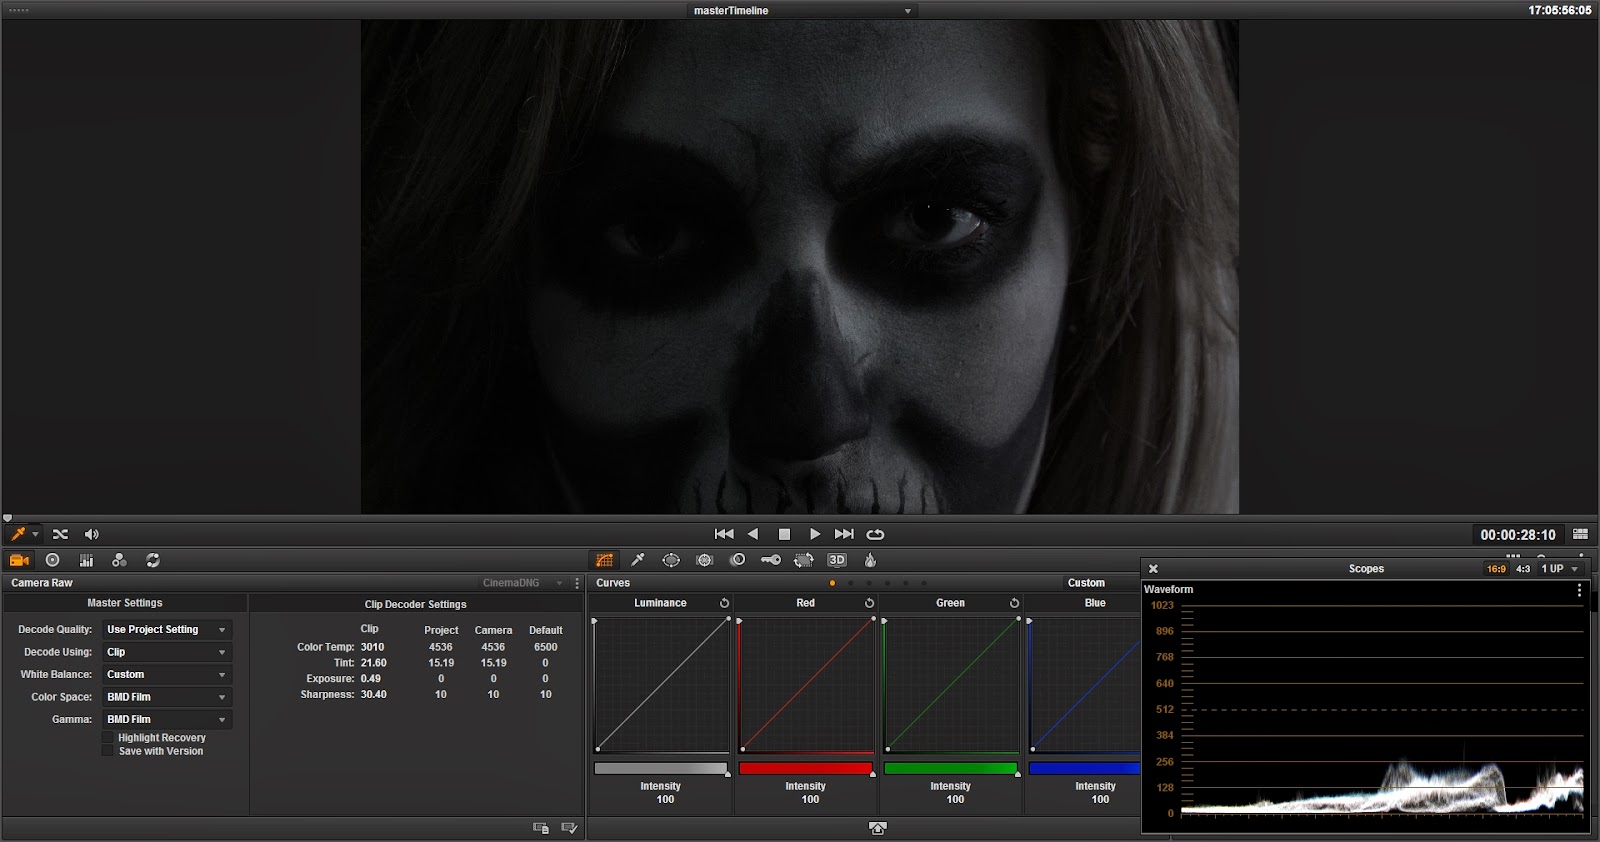 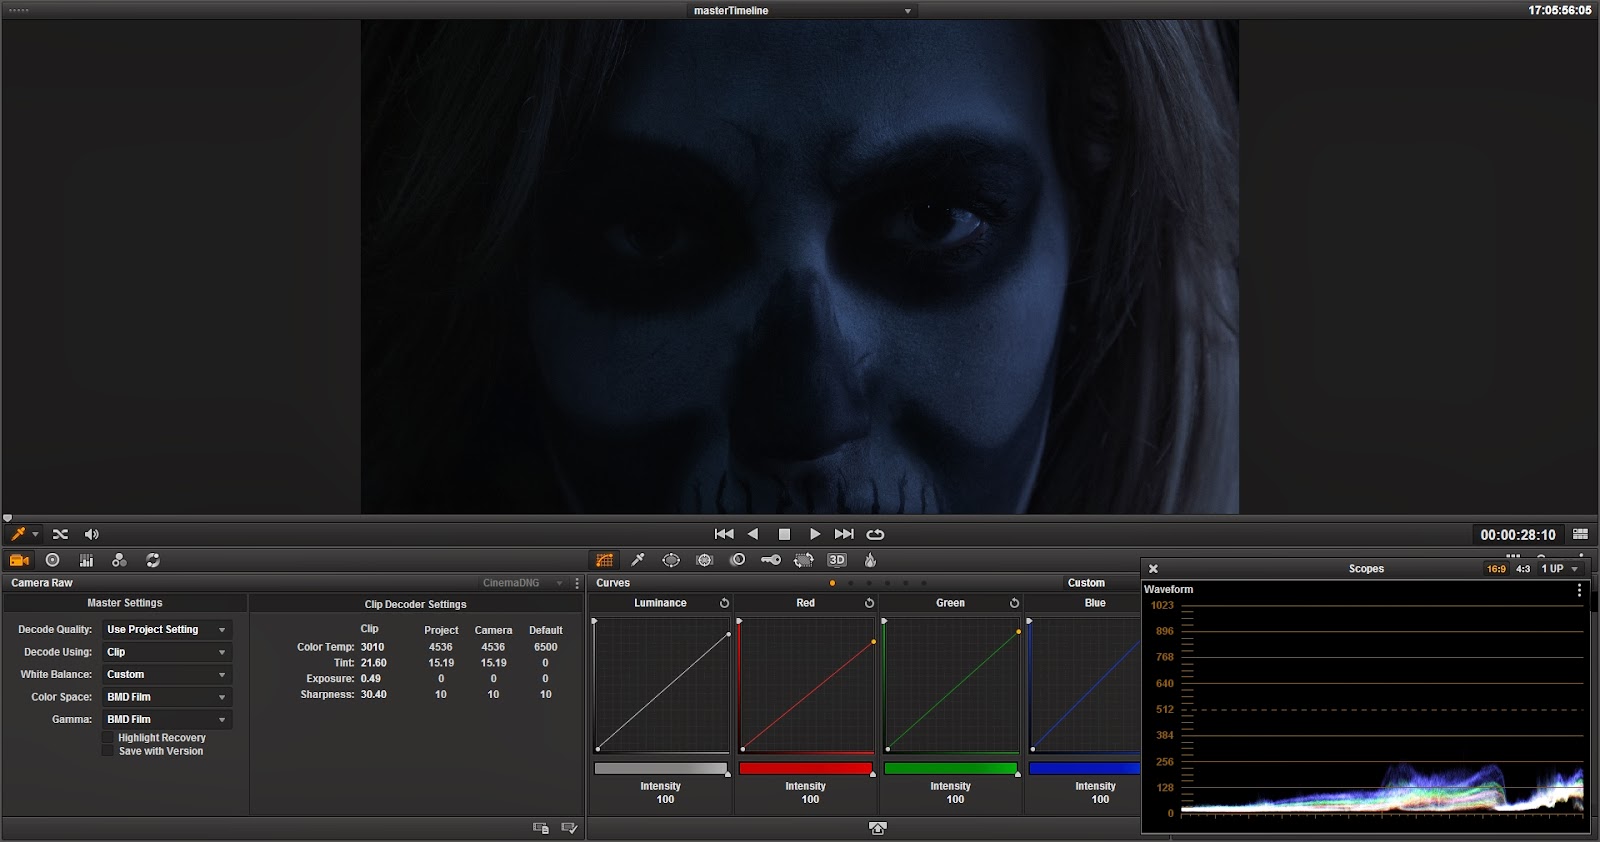 |
| So here is a, before (balanced) and then after my grading. It didn't need to be much but I definitely wanted to blue wash to indicate that night time, darkness look. |


No comments:
Post a Comment